

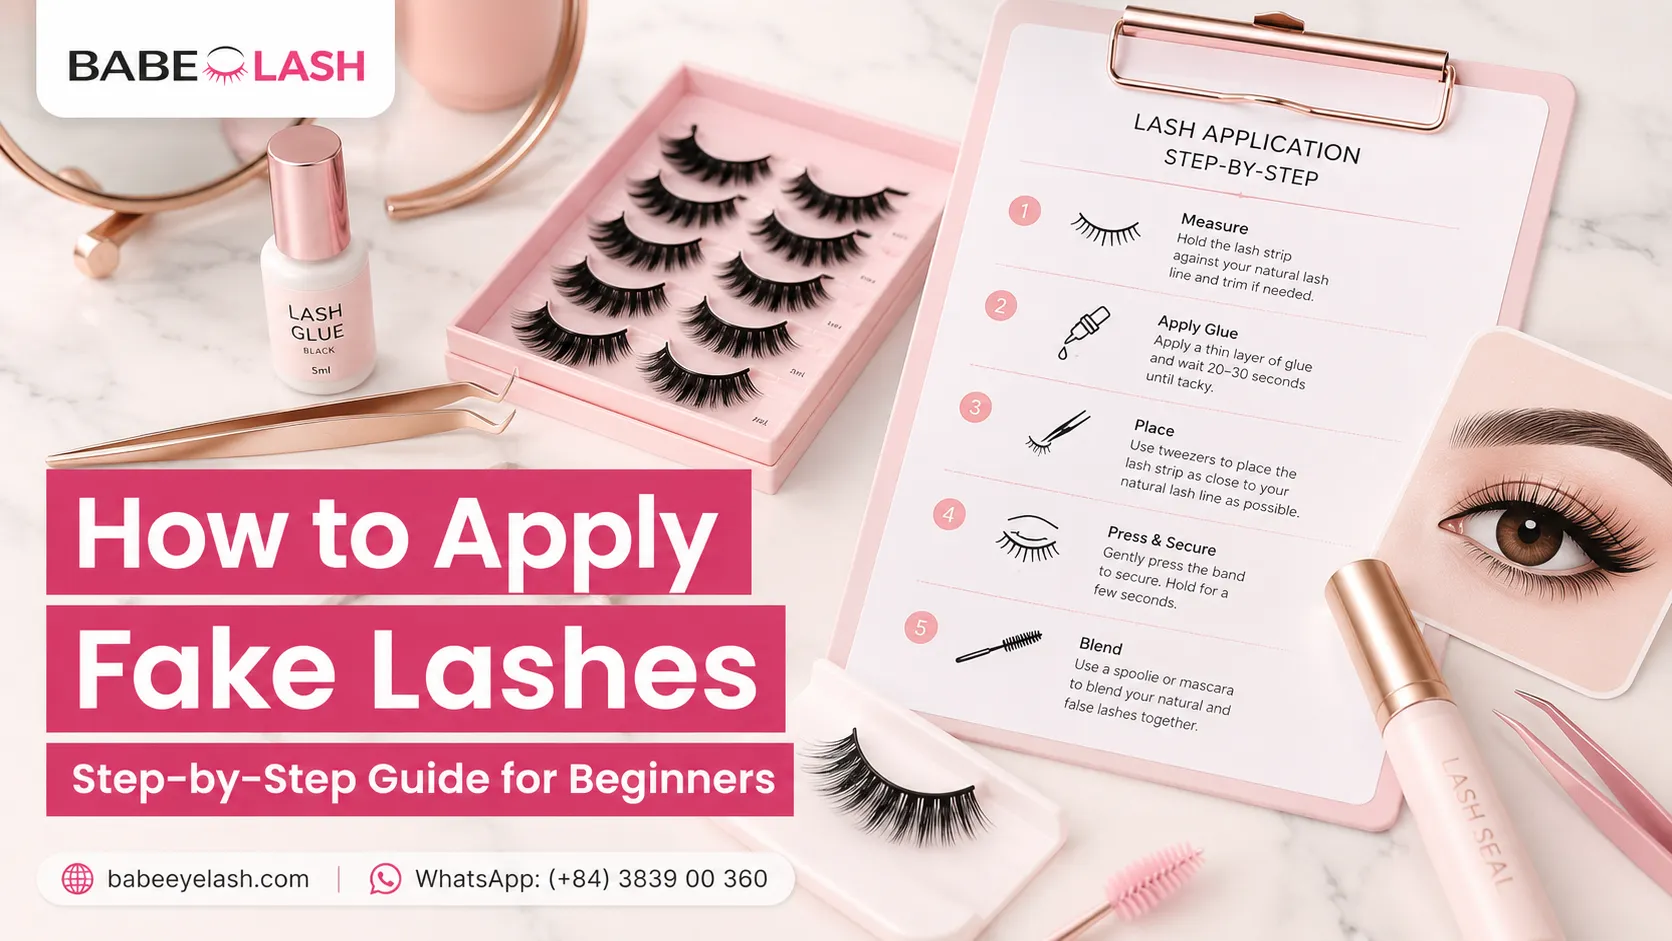
False lashes can transform your entire eye makeup in seconds, but only if you know how to apply them correctly. A badly applied lash looks costume-y and feels uncomfortable. A well-applied lash is undetectable and makes you look like you woke up with naturally full, voluminous lashes.
The difference between those two outcomes comes down to technique. How to apply fake lashes is not complicated, but it does require patience, the right tools, and a few tricks that separate beginners from people who make it look effortless.
This guide walks you through every step, from measuring and trimming to blending for a seamless finish. Whether you are trying false lashes for the first time or you have struggled with application in the past, this process works.
What You Need Before You Start
You do not need a lot of supplies, but having the right ones makes application infinitely easier.
Essential tools:
- False lash strip in your chosen style
- Lash adhesive (comes with most lashes, but a separate quality glue improves results)
- Tweezers or lash applicator (tweezers from your makeup collection work fine)
- Mirror (ideally a magnifying or one you can position below your face)
- Mascara (to blend natural lashes with the false lashes)
- Liquid eyeliner (to hide the lash band)
Optional but helpful:
- Lash curler (to warm and shape the lashes before applying)
- Cotton swabs (for precision glue application and removal)
- Lash-specific tweezers with a flat, angled tip
- Magnifying mirror or ring light for visibility
Step 1: Measure and Trim the Lash Strip
[Suggested image: False lash being measured against an eye on a model – Alt text: “How to apply fake lashes by measuring the lash strip against your eye width”]
Most false lash strips are made for an average eye width, but eyes come in different sizes and shapes. Trimming the lash ensures it fits your lash line perfectly without pulling at the corners or creating gaps.
How to measure:
- Hold the false lash strip up to your eye with the band parallel to your lash line
- Look straight ahead into a mirror
- The lash should sit from the inner corner of your eye to the outer corner, touching both points but not extending beyond either
- If it is too wide, the outer edge will extend past your eye, which you will feel and see
How to trim:
- Use small, sharp scissors or tweezers to gently remove lash fibers from the outer edge only (never trim the inner corner)
- Remove a few fibers at a time rather than trying to trim one large chunk
- Test fit the lash after each adjustment until it sits perfectly against your eye
- If you trim too much, the lash becomes shorter but you cannot add back what you removed, so err on the side of caution
Step 2: Apply Adhesive to the Lash Band
This is the step where application success or failure often determines itself. The glue needs to be the right amount, applied in the right place, and given proper time to set.
How much glue:
Apply a thin, even line along the entire lash band. Many beginners use too much glue, which makes the lash heavy, clumpy, and difficult to position. A thin line is all you need. If you are worried you have applied too little, you can always add more, but removing excess is harder.
Where to apply:
Focus the glue on the lash band itself, not the fibers above it. The outer corners and the center need slightly more attention since these areas bear the most stress during wear.
Alternative application method:
Some makeup artists recommend applying a thin line of glue directly onto your eyelid instead of, or in addition to, the lash band. This creates a sticky base that helps secure the lash in place. If you choose this method, place a thin line along where your lash line is and let it become tacky before positioning the lash.
[Suggested image: Close-up of adhesive being applied to lash band with precise line – Alt text: “Applying thin adhesive line to false lash band for proper adherence”]
Step 3: Wait for the Glue to Become Tacky
This is the step most people rush, and rushing it is what causes lashes to slip, slide, or not stick at all.
The timing:
Let the glue sit for 30 to 60 seconds after application. During this time, the glue transitions from wet and runny to tacky and sticky. This tacky stage is when it has the best grip.
How to tell it is ready:
Hold the lash strip up to your eye without touching it. The glue should feel slightly sticky to a light touch. If your finger sticks to it, it is ready. If it wipes away wet, it needs more time.
Why this matters:
Applying the lash when the glue is still wet causes it to slip around and not stick properly. The glue will not dry quickly enough to hold it in position. Waiting creates the perfect window where the adhesive is sticky enough to grip but still pliable enough to position the lash correctly.
Step 4: Position the Lash Strip on Your Lash Line
This is the most critical step. Placement determines whether the lash looks natural or costume-y, comfortable or irritating.
The correct placement:
Using tweezers or a lash applicator, hold the lash strip by the band only (not the fibers). Position it on your eyelid as close to your natural lash line as possible, starting from the center of your eye. Lower the strip gently onto your lid from center outward, not from corner to corner.
Why start from the center:
Starting from the center allows you to see what you are doing and make micro-adjustments as you move outward. If you try to place the entire strip at once from corner to corner, the center often ends up too high or too low.
How close to the lash line:
The lash band should sit directly on your lash line or slightly above it. If it sits too high on your eyelid, the gap between your natural lashes and the false lashes becomes visible. If it sits too low, the entire eye area feels uncomfortable.
Using a mirror strategically:
Position a mirror below your face, angled upward. This allows you to see your lash line clearly while you apply the lash. You can see exactly where the band is sitting without straining your neck or eye.
Step 5: Secure and Press Down the Corners
[Suggested image: False lashes being pressed down at the corners with tweezers – Alt text: “Securing false lashes by pressing down at the inner and outer corners”]
Once the lash is in the general position, you need to press it firmly to activate the adhesive bond.
How to secure:
Using a clean tweezer or the back of a spoolie brush, gently press along the lash band from center to outer corner, then from center to inner corner. Press at the corners especially firmly since these areas experience the most stress during wear.
Pressing technique:
Use gentle, steady pressure rather than jabbing. Hold the pressure for 2 to 3 seconds on each section to allow the adhesive to set. Do not rub side to side, which can cause the lash to shift out of position.
Wait time before continuing:
Allow the adhesive to fully dry before moving to the next step. This typically takes 1 to 2 minutes. If you apply mascara or eyeliner immediately while the glue is still wet, you risk disturbing the placement.
Step 6: Blend With Mascara and Eyeliner
This is the finishing step that makes false lashes look natural and intentional rather than obviously fake.
Mascara application:
Apply a coat of mascara to both your natural lashes and the false lashes. This does two things: it blends your natural lashes with the false lashes so they look like one cohesive unit, and it locks the false lash fibers in place with the mascara formula.
A good option for this step is L’Oreal Paris Telescopic Original Mascara, which applies smoothly without clumping and has a soft brush that does not disrupt the lash placement.
Eyeliner to hide the band:
The lash band can be visible, especially if your eyelid has a lighter skin tone or if the band is black and contrasts with your skin. A liquid liner applied along the top of the lash line covers the band and creates a seamless finish.
L’Oreal Paris Infallible Grip Mechanical Gel Eyeliner is specifically designed to stay put and adheres well over the lash band without smudging.
Pro Tips for Flawless Application
Bend the Lashes Before Applying
Take the false lash strip and gently bend it into a U-shape with your fingers, holding it there for 5 to 10 seconds. This makes the lashes more flexible and helps them conform to the natural curve of your eyelid. It also feels more comfortable during wear. Stiff, unbent lashes resist the curve of your eye and feel uncomfortable.
Look Down Into Your Mirror
Instead of looking straight ahead, look slightly down into a mirror positioned below your face. This angle gives you a clear view of your entire lash line and makes placement significantly easier. Looking straight ahead often means you cannot see where the band is sitting on the inner corner.
Apply Glue to Your Eyelid as a Guide
Some makeup artists swear by applying a thin line of glue or adhesive primer directly to your eyelid along where your lash line is. This acts as a sticky base that holds the lash in place while you are positioning it. Once the band touches this sticky base, it has a much easier time staying put. Let this line of eyelid glue become tacky (30 seconds) before placing the lash band on top.
Use a Lash Applicator, Not Just Tweezers
While regular tweezers work fine, a dedicated lash applicator with a curved, claw-like end lets you hold the lash strip more securely without risking a pinch to your eyelid. These are inexpensive and make the process noticeably smoother.
Go Slow on Your First Few Attempts
Do not expect perfect application on your first try. The first time you apply falsies, give yourself 5 to 10 minutes. Once you have done it a few times, the process speeds up significantly. Rushing leads to mistakes and frustration.
How to Remove Fake Lashes Safely
Removal matters as much as application. Improper removal can damage both the false lashes (shortening their lifespan) and your natural lashes.
The safe removal process:
- Soak a cotton swab in makeup remover or oil-based cleanser
- Run the swab gently along the lash band to dissolve the adhesive
- Once the glue feels loose, gently peel the lash away from the inner corner toward the outer corner
- Do not tug or pull forcefully
Never force a lash off while the glue is still bonded. Patience during removal extends the life of your false lashes to five to ten wears with proper storage.
For more detail on safe lash removal, see our guide on [how to remove lash extensions at home], which covers similar principles applied to longer-wear adhesive.
Frequently Asked Questions
How long should fake lashes stay on?
False lashes are typically worn for one evening or day and removed before sleep. Some people wear them for multiple days if they use a quality adhesive, but the standard is single-day wear. For longer-wear options, consider lash clusters or professional extensions.
Can you wear fake lashes if you wear glasses?
Yes, but you may need a shorter style or lash clusters rather than full strips. Full strip lashes can touch the inside of your glasses if they are thick-framed. Clusters sit between your natural lashes and are less likely to make contact with your glasses.
How do you prevent fake lashes from falling off?
Use a quality lash adhesive, allow 30 to 60 seconds for tackiness before applying, measure and trim them to your eye width, press firmly at the corners during application, and avoid rubbing your eyes during wear.
Do fake lashes damage natural lashes?
When applied and removed correctly, fake lashes do not damage natural lashes. Rough removal, pulling during application, or wearing them too tightly can cause stress. Proper technique prevents damage.
Can you reuse fake lashes?
Yes. With gentle removal and proper storage in their original packaging, a pair of quality false lashes can be worn 5 to 10 times before the fibers begin to fray and the band weakens.
Final Thoughts: How to Apply Fake Lashes Like a Pro
Learning how to apply fake lashes is a skill that improves with practice. Your first application may feel awkward and take 10 minutes. By your fifth or sixth time, you will have it down to a few minutes with natural-looking results.
The essential steps never change:
- Measure and trim to your eye width
- Apply thin glue and wait 30 to 60 seconds
- Position from center outward along your lash line
- Press firmly at the corners and center
- Blend with mascara and eyeliner
- Remove safely with makeup remover when ready
The pro tips that make the biggest difference: bending the lashes first, using a mirror positioned below your eye, and not rushing the glue tackiness window. Master those three elements and your false lash application jumps to the next level.
